Van Conversion # 3 – The Floor

Pé na estrada! (2)

It was by the floor that we really started building our future house on wheels, and in this article we will explain step by step how we did it.

First of all let’s put some important considerations here in relation to the floor.

  • The floor will be the base of the entire structure of the van, so it has to be solid and securely attached to the van’s box
  • It is advisable to match the structure of the floor to the future structures inside the van
  • Protect the wood from the floor against possible moisture infiltration

Step 1 - Measure, Draw and Lay Floor Structure

Our van has 3.7m of length and 1.75m of width, so we decided to make our structure horizontally, with 9 support slats (27mmx44mm), slats that are removed by +/- 40cm.

The slats must match the reliefs of the truck box to provide a level structure and maximum possible contact area.

hen we put slats perpendicularly between the other slats, where in the future will settle the structure of the bathroom, the bed and the kitchen counter.

Up to this point we did not really need any eletrical tools, even though we used a “tico-tico”, only one saw was enough.

All wood was treated with an interior veneer to protect the wood against future moisture problems.

Transformação motorhome carinha

To fix the slats to the floor we chose a solution of two phases, first we put silicone of fixation and seal under the slats, so that they did not move with the vibration and they have a more extensive area of fixation, soon we put self drilling screws (4.8x38mm), to attach the slats to the metal.

Transformação motorhome carinha

We were very satisfied with the final result, and we are sure that the structure will not move, no matter what happens.

It is important to see first under the van, before start driling, to don’t hit nothing with the screws.

Step 2 - The Isolation

The isolation is one of the most important parts in the transformation of a van and later, when we finish the insulation we will make an article just to talk about this subject, and our opinion regarding it.

There are various types of materials for insulation, each having different values of thermal resistance, resistance to humidity and different prices …

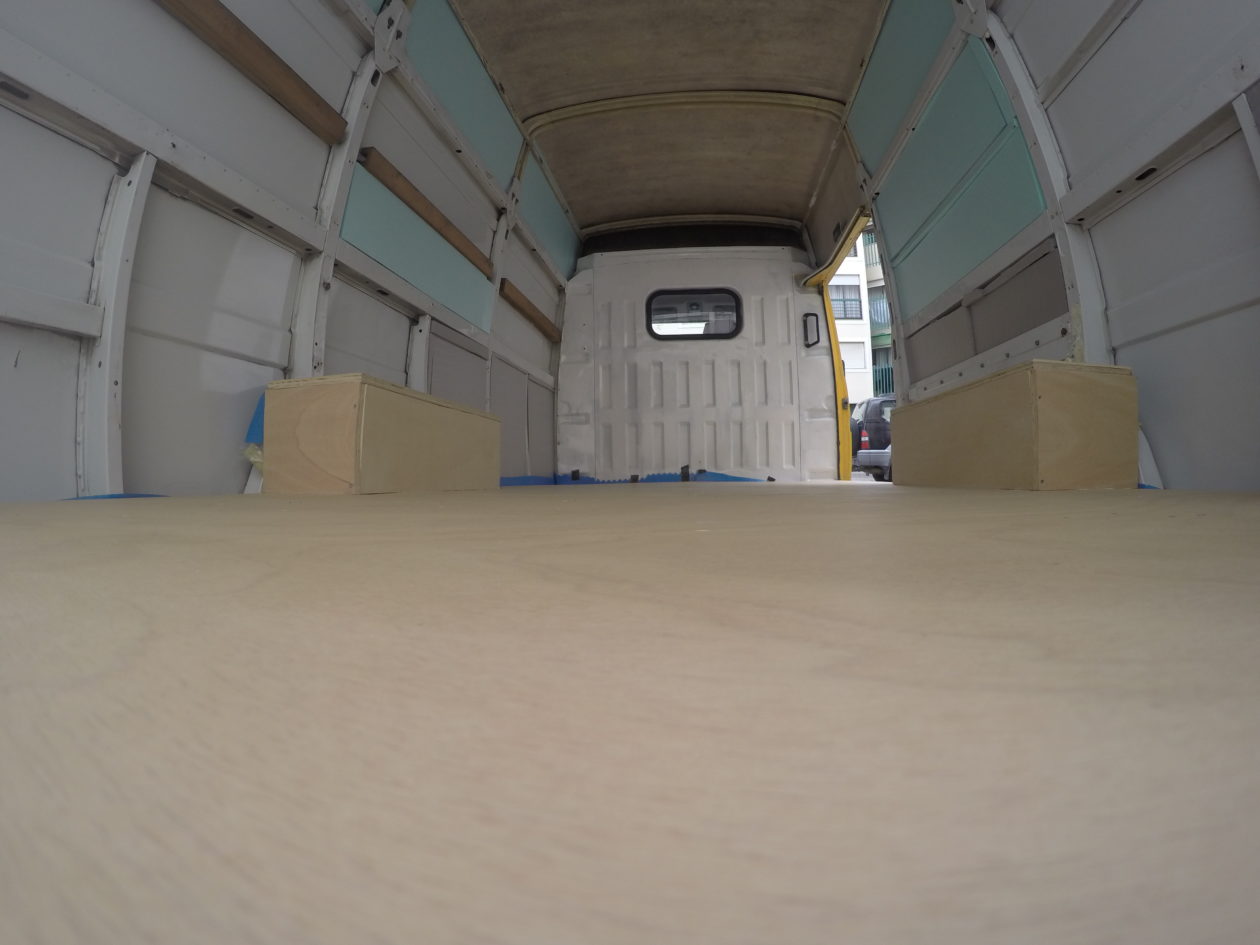
We have chosen to use 30MM (EPS) styrofoam boards on the floor, because the price per square meter is relatively cheap, and will still be compressed to 27mm which will increase the density somewhat and offer a little more insulation.

Transformação motorhome carinha

As you can see, we have also added a wooden slat in the door part because it will be the most exposed part and needs more protection against the elements.

Then we just had to cut to size and apply between the slats.

In the spaces left, we put expandable foam.

Transformação motorhome carinha

Step 3 - The anti-vape barrier

Something very important in a conversion of a van is the application of an anti-vapor barrier.

This barrier will allow no steam to pass into the structure of the van and into the insulation, thereby creating an anti-humidity barrier.

Humidity that is released by the baths, the cooking and the breathing of the people.

Since the vans are an enclosed space, it is very important to take this into account to avoid future problems.

Transformação motorhome carinha

The material we purchased is called ” Acoustic insulation of polyethylene with vapor barrier membrane ‘‘.

Then we cut two bites with a little more than 3.7 meters in length and about 1 meter wide and we applied in the van.

Transformação Carrinha motorhome

Then we just put them together with waterproof tape before we put the plywood.

Step 4 - Application of plywood

The fourth step is to apply what will really serve floor, which in our case was plywood.

We chose the 18mm plywood because first it is a wood that does not absorb much moisture, contrary to melamine or MDF, then because the fact that it is 18mm thick, will serve in perfect perfection and point of support / application to the rest structure and finally the weight / resistance ratio is very good.

Transformação motorhome carinha

We decided to divide the floor into 3 plates, two of 250cm x 88cm and one of 176cm x 120cm.

We took advantage of the fact that Leroy Merlin cut wood to size for free, to cut the boards to the dimensions we wanted, this was very useful because their margin of error is almost zero, something that would not happen if we cut it at home, because cutting a plate of 2.5 meters x 1.2m to the millimeter without great conditions is not easy.

We started by giving two layers of varnish to protect the wood.

Transformação Carrinha motorhome

Then we had to make cuts, so that the plates fit into the wheel arches.

Transformação Carrinha motorhome

Then we put the third part of the floor and screwed everything up. In this part it is important to know where the slats of the floor structure are, so that the screws match those slats. It is advisable to mark with glue tape where the slats are.

Once we had the base of the floor made, it was time to dig the wheels. We cut the woods to size, and with bolts and glue we made the structure. At the insulation level of this part we used expansive foam and mineral wool.

Final Result

At the end of it all we will put floating floor on the floor that will be visible, and in the ” garage ” that is going to be under the bed we will by a protection to the floor.

Prices ( Portugal )

  • Shingles (27mmx44mmx200mm) 14 = 45 €
  • Plywood (2500mmx 1220mmx18mm) x 3 = 180 € (we have more than half of one of the plates)
  • Screws (4.5mmx40 / 4.8mm x 38mm) = 13 €
  • Anti-vape barrier – 21 € (half left)
  • EPS = € 22
  • Varnish 0.75L + 2.5L = 28 €
  • Silicone – 0.75ml x2 = 8 €
  • Insulating Adhesive Tape = 4.4 €

Other articles about this conversion

Help us to travel more 🙂

Do you want to help keep the site up and contributing to our travel passion? Use one of the links below to make your reservations. For you there is no cost and we received a small commission. Thank you very much.

  • Reservation of accommodation through Booking —-> Click here !
  • Booking through Airbnb (30 € discount – new users) —-> Click here !
  • Buy tickets for monuments and experiences through the Get Your Guide —> Click here !

Other Articles

if you have any doubt, or if you want to say us anything, just leave a comment here or send us an email to worldonmyway@worldonmyway.com


Leave a Reply

Your email address will not be published. Required fields are marked *